
Gusseted and painted the front trans mount and then test fit it. Looks and feels like it will work.

 The main piece fits pretty good but I wanted to tie it to the old front mount bung. This threaded rod should do.

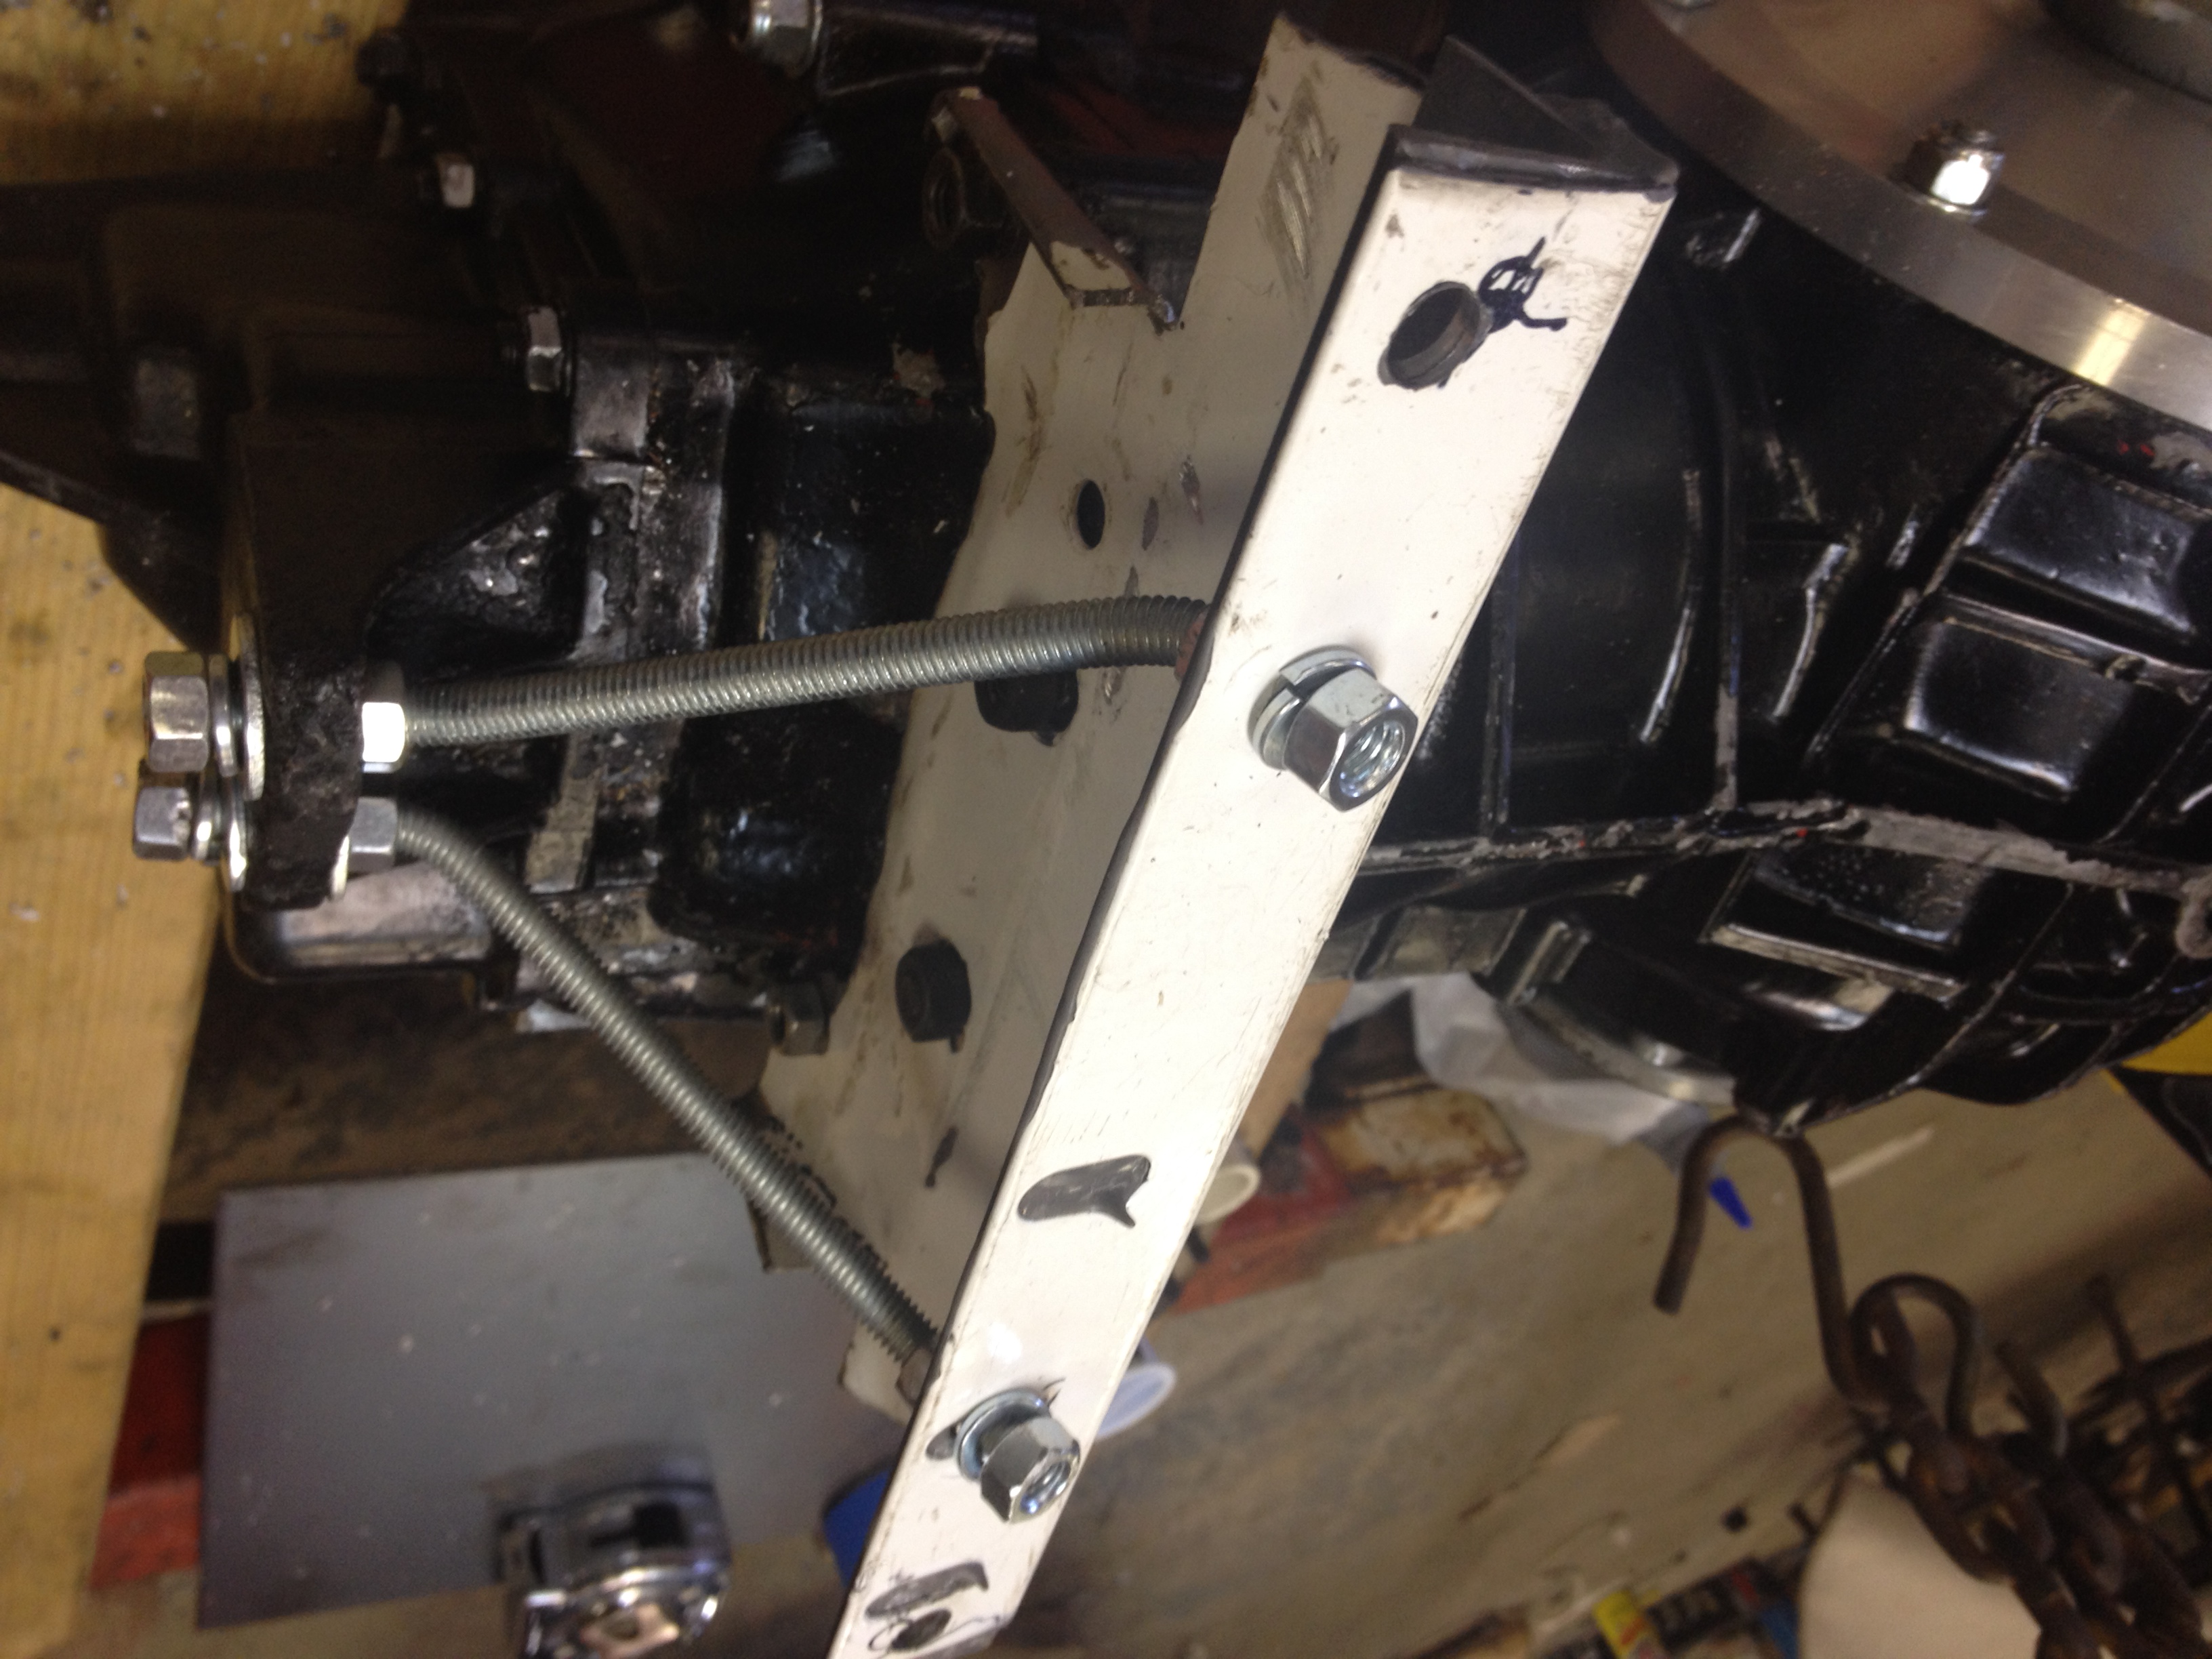 A little cut and bend and it fits, loosely.
Since the holes in the old mount were sloppy for this gauge of rod, I decided to bush it.
Luckily, I still had this rag joint I replaced last season. One of the benefits of never throwing anything away.
The bronze guides fit perfectly in the trans mount holes and tightened up the construction admirably. Also means the threads on the rods won’t chew those holes up.

 Once I got it together I had to hammer the main, flat part where the rubber mounts interfered. Also had to trim the 1×1 about 1/8 inch on both sides to line up the holes.
 Now all that remains is to shim the 1×1 square tube into the bigger square tube sub frame. I guess I’ll weld it in there and along the bottom of the frame horns, to make everything as strong as it can be.
Also need to shim the sway bar bushings a little and snug it all up. Then we should be ready to take out the shift rod and shorten it.
Meanwhile, also got these new urethane rear motor mounts modified and installed.
 Those notches ought to meet the bolts that hold the adaptor to the Suby block, and the engine ought to fit now. I just hope that clown-shoe yellow urethane really is stonger than stock, as advertised. I have my doubts.
