
For the past month or six weeks I’ve been chipping away at Bridget’s body work. Fill and sand, fill and sand. Today I got it good enough I figured I’d shoot some primer.
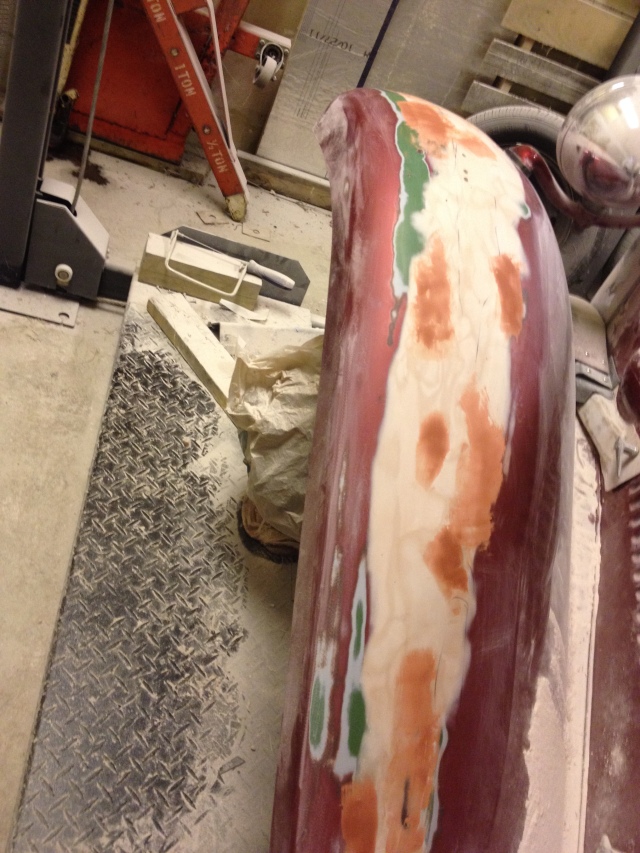
That there is some old school spot putty I had on hand. I don’t even remember when I bought it. Years ago, I think. Anyway it was drying out and hard to even squeeze out of the tube, but eventually I busted open the bottom, and the glop that came out then was a bit more workable.


I feather-edged it, dry-blocked it with a nifty sanding sponge and then hit it with the rattle can primer.
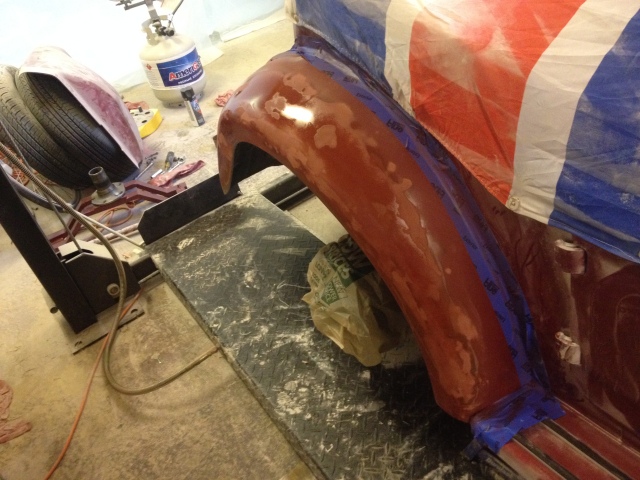
I bought another tube of spot, thinking I’d have to go over it again. But when I dry-blocked it again to feather out the tape lines, it looked good enough for paint. So what the hell? They say to use a glossy coat to get your imperfections to show up, and I figured it was about time.
It’s really a sacrificial coat. Once it dried I took a look, and it did indeed shrink into myriad little imperfections. 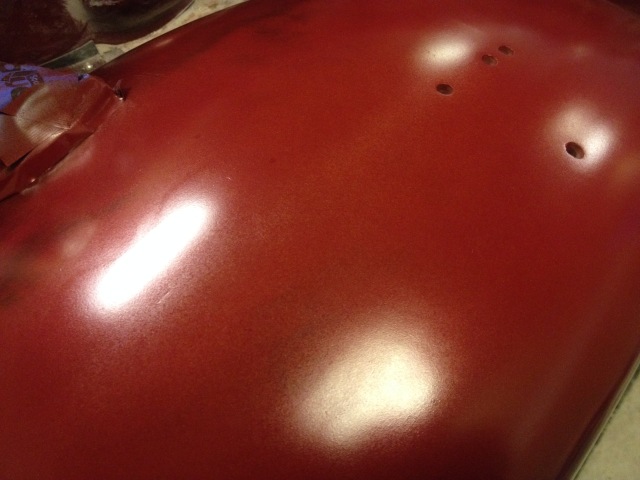 But hey that’s not even bad!
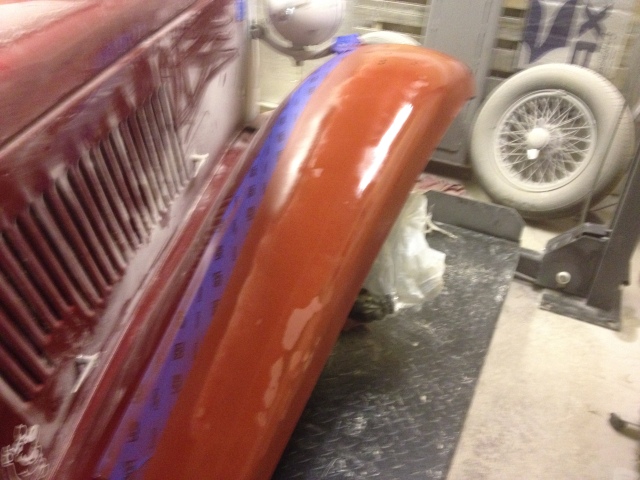
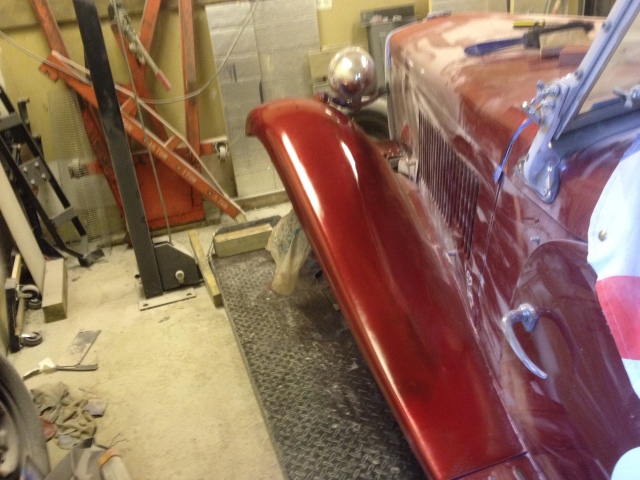
Next I’ll hit it wet with the 320 and 400, and do the same on the other three fenders (which are not yet color-coated). The other three will get another shot of primer, a quick block with 400 and then the top coat. This one I think I’ll just spray on top of the red.
Then clear and we’re done.

Impressive work, Ed. Very nice.👍
thanks. Getting close now.